Learn Sitar from top experienced teachers
![]()
A Beginner's Guide to Playing the Sitar: Tips and Techniques
17 May 2024
.5 min read
.![]() 25,986 Views
25,986 Views
![]()
How do you describe the sound of a sitar? A rippling stream descending from a hilltop. Or a gargling sound - like the gibberish of a toddler or a bunch of prankster girls giggling over their follies.
The sound of a sitar is an instant perk for the mood. And a great trigger of happy hormones. Every time you hear it play, you break into a smile, unknowingly. The sound lingers in your mind long after the music stops and so does your smile.
But is it as pleasing to play the sitar for a beginner trying to woo the instrument? Well, there is no straight answer to that question. There are certain early learning challenges and also, there are ways to overcome them.
So here is an attempt to break the enigma around sitar through…
A Beginner's Guide to Play Sitar - A Step-by-Step Route map
1. Correct Sitting Position and Holding the Sitar
2. Know the Sitar Instrument
3. Choose the Right Sitar
4. Get Your Grammar Right`
5. A Dedicated Practice Schedule and Space
6. Listen to good music
7. Overcoming Common Challenges
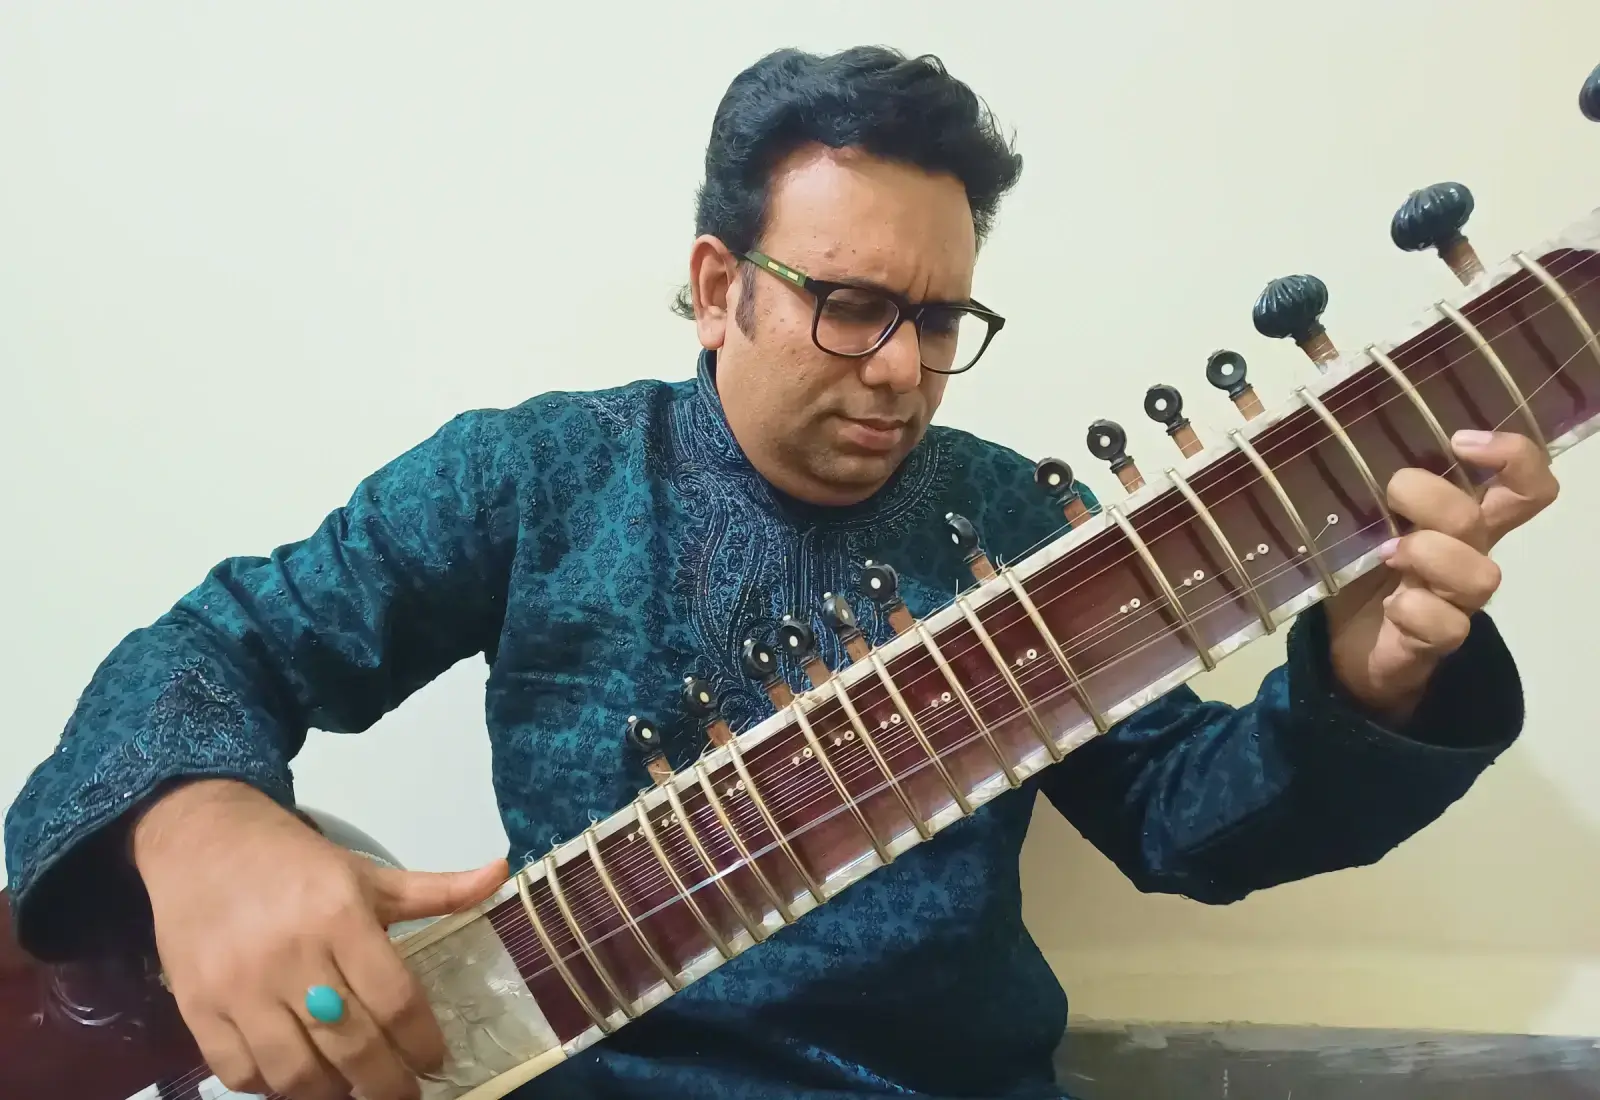
1. Correct Sitting Position and Holding the Sitar
You have to sit cross-legged while playing sitar. In this position, one of your legs folds in sukhasana and the other crosses it over its knee. Your back should be straight and your shoulders relaxed. It helps to maintain comfort, stability, and proper technique.
Sitar - the instrument itself is very heavy. The bottom of the sitar's gourd (tumba) rests on the floor on the right side. The wide part of the gourd should rest against your right knee. Your left foot should be positioned under the sitar’s gourd, providing additional stability. The right knee should help balance the sitar, preventing it from slipping.
You hold the neck of the sitar with your left hand. The thumb should rest behind the neck to support it, while your other fingers are free to press down on the strings. Adjust the angle of the neck so that it is comfortable for you to reach the frets. Typically, the neck should be angled upward at around 45 degrees, but this can vary slightly depending on your comfort and arm length.
Your right hand should be positioned over the main playing strings, ready to use the mizrab (plectrum) for plucking. Your right arm should move comfortably over the strings without straining. Keep your hand relaxed to help with fluid motion while playing.
Once you have positioned the sitar correctly, make sure that you feel balanced and stable. The instrument should not feel like it is about to slip or wobble. If it does, you may need to adjust the position of your legs or the angle of the sitar.
You should be rock solid and stable in your posture while performing. And most importantly, you should be comfortable. Playing sitar demands quite a bit of dexterity in the body and mind of the practitioner.
It is advisable to practice yoga, stretching, and strength-building exercises. Also, practice this sitting position regularly to build comfort and endurance. Start with short practice sessions and gradually increase the duration as you become more accustomed to sitting this way. Over time, maintaining this posture will become more natural.
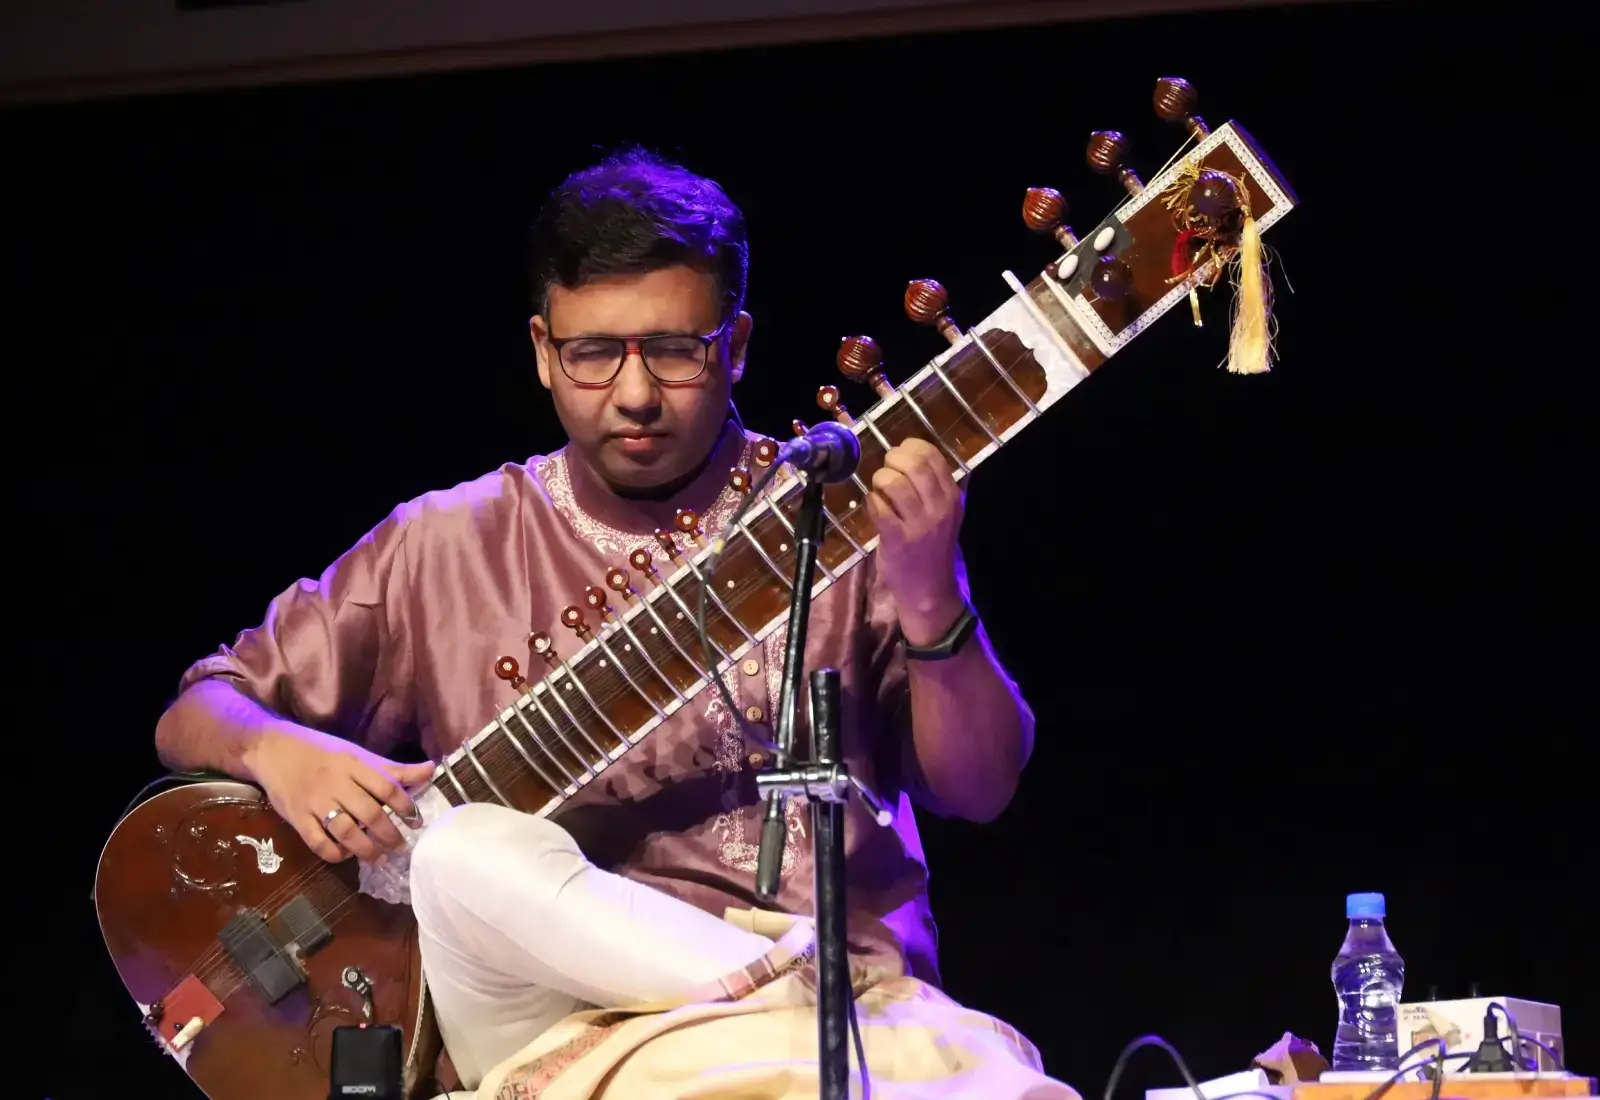
2. Know the Sitar Instrument
Before diving into playing, it's important to familiarize yourself with the sitar's structure and components.
The sitar's body, known as the tumba, is the main resonating chamber made from a gourd. Attached to the body is the neck, or dand, which is a long, hollow wooden neck. Along the neck, there are movable metal bars called frets, or pardas, which can be adjusted to allow for a variety of tunings. The sitar typically has between 18 to 21 strings, divided into three types: the main playing strings (baj tar), the sympathetic strings (tarafdar), and the drone strings (chikari). Another key component is the bridge, known as the jawari, which is flat-topped and produces the sitar’s distinctive buzzing sound.
Tuning the sitar can be a complex process, but it is essential for achieving the correct sound. The main playing strings are usually tuned to specific notes of the chosen raga, which is a melodic framework in Indian classical music. Meanwhile, the sympathetic strings are tuned to resonate harmoniously with these notes. This intricate tuning helps create the rich, layered sound that is characteristic of the sitar.
3. Choosing the Right Sitar
Selecting the right sitar as a beginner is a vital step in your musical journey. Here are some detailed tips to help new students choose the best sitar:
Quality over Price
Investing in a well-crafted sitar from a reputable maker is essential. Although it might be tempting to buy a cheaper instrument, a poorly made sitar can hinder your learning process and produce subpar sound quality.
High-quality sitars are built with precision and care, ensuring that the frets are correctly positioned, the strings are properly aligned, and the overall construction is solid. This not only makes playing easier but also ensures that the sound is rich and resonant.
Pay attention to the type of wood used for the sitar. High-quality sitars are often made from seasoned teak or tun wood, which are durable and enhance the instrument’s tonal quality. Avoid sitars made from cheaper, less durable woods as they may not last long and could have inferior sound.
Examine the string setup of the sitar. The strings should be evenly spaced and aligned, with no signs of rust or wear. Check that the tuning pegs (known as taraf pins for sympathetic strings and main pegs for playing strings) are easy to turn and hold the tuning well.
Check the Jawari
The jawari, or bridge, is one of the most critical components of a sitar. It should be well-shaped and maintained to produce a clear, resonant sound. The jawari is responsible for the distinctive buzzing sound of the sitar, and its quality directly affects the tonal quality of the instrument.
When selecting a sitar, listen carefully to the sound it produces. Play a few notes and ensure that the sound is vibrant and resonant. If possible, have an experienced sitar player or teacher accompany you to help evaluate the quality of the jawari.
Choosing a Sitar for Children
Selecting the appropriate sitar for a child involves considering the physical and ergonomic challenges posed by the instrument’s size and complexity. When using a standard sitar, the size and weight can be challenging for young children. To address this, opt for smaller, child-sized sitars designed specifically for young learners.
The sitars designed for children help to address crucial problems such as string tension and fret spacing. Apart from the size and weight these are the two main concerns for a young sitar learner.
String tension can lead to finger strain. The strings on a standard sitar are typically high-tension, which can be hard on a child’s fingers, leading to discomfort and discouraging practice. Using lighter gauge strings to reduce the tension can make it easier for the child to press down on the strings.
The standard spacing of frets can be too wide for small hands, making it challenging for children to reach and play notes accurately. Adjusting the frets to make them closer together can be a solution, though this might be difficult on a standard sitar and might require a skilled luthier.
4. Get the Grammar Right
Each of your initial steps is important and a building block along your way. It is not that you pluck a string and music happens like magic. It takes time to make music happen through any instrument. It takes years of practice. So, here's some of the fundamental lessons that you will learn in the class -
Plucking (Meend and Mizrab)
The strings of the sitar are plucked to create music. The sitar is played using a metal plectrum called a mizrab, worn on the index finger of the right hand. Here's how to use it:
- Downstroke (Da): Strike the string downward using a fluid motion.
- Upstroke (Ra): Strike the string upward. This stroke is less common but equally important.
Fretting
- Left-hand Position: Place your left-hand thumb behind the neck for support. Use your other fingers to press down on the strings.
- Pressing the Strings: Press the strings down onto the frets with sufficient pressure to produce a clear note. Avoid pressing too hard, which can cause discomfort and affect the sound quality.
Musical Concepts
After learning to position the instrument, pluck, and fret, it is time to learn the musical concepts.
You start by playing the notes. Go one note at a time. Listen to each note very attentively and practice for accuracy and precision.
After you learn to play the notes, you start with Alankars. These are melodic exercises that help in mastering different patterns and rhythms. Start with simple patterns and increase the complexity in due course.
As you move ahead in your learning curve, you learn the Ragas, Taal, and advanced techniques such as Gamak, Meend, Chikari, and Jhala.
Also read - List of Ragas in Indian Classical Music.
5. Practice Routine
Consistency is key in learning the sitar. Here's a sample practice routine for beginners:
- Warm-Up: Basic scales and alankars to warm up your fingers.
- Technical Exercises: Plucking and fretting exercises to improve your technique.
- Raga Practice: Work on a specific raga, focusing on both the alaap (slow, improvised introduction) and gat (fixed composition).
- Tala Practice: Practice keeping time with different talas using a metronome or tabla app.
- Free Play: Experiment with improvisation and integrating different techniques.
6. Listening to Good Music
Listening to music is as much a part of practice as playing the instrument. Listening to recordings of sitar masters like Ravi Shankar, Vilayat Khan, and Nikhil Banerjee can provide inspiration and insight into advanced playing techniques and musicality.
You don't have to listen only to sitar. You should listen to vocals and other musical instruments as well. Listening to good music helps to train your ears for music.
7. Overcoming Common Challenges
Sore Fingers
In the beginning, sore fingers are common due to the pressure required to press down the strings. Build up your finger strength gradually and take breaks when needed. Over time, calluses will develop, making it easier to play.
Maintaining Tuning
The sitar can go out of tune easily due to temperature and humidity changes. Check and adjust the tuning before practice sessions on a regular basis.
Patience and Persistence
Learning the sitar is a long-term commitment that requires patience and persistence. Celebrate small milestones and progress, and don't get discouraged by setbacks.
Conclusion
Playing the sitar is a deeply enriching experience that connects you to a rich musical tradition. By understanding the instrument, mastering fundamental techniques, and maintaining a consistent practice routine, beginners can make significant progress and enjoy learning this beautiful instrument. With dedication and passion, the sitar can become a lifelong source of joy and artistic expression.
If you are aspiring to learn sitar, you can explore online sitar classes.


Learn Sitar from top experienced teachers
Online Sitar Courses